Showing posts with label resin. Show all posts

Monday, March 22

Diane Knotts..'come on down'!


Lily pulled the winning name today for my 100 post give-away....Diane Knotts, I need your address!

Again, I'm blown away by your constant encouragement & thoughtful comments.  I read every single one & visited as many sites as I could last week.  I'm still working my way through the list, finding new places to draw inspiration from. 
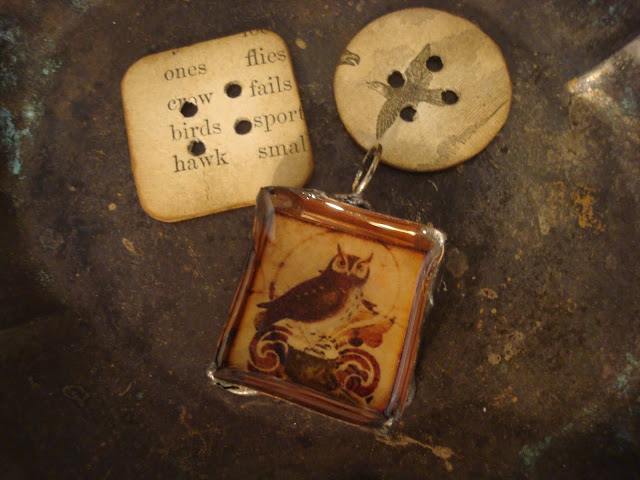
I know I told you I was busy being Mommy all week...... but I did manage to sneek in some art time.  I've been creating some little charms for Heather's new swap. It's all about birds & nests, so I had to play!  I made some little chipboard buttons & I'm working on more resin charms. 
The new Belle Armoire Jewelry featured a story by Robin Sokel called 'The Mother of Invention'. She gives a detailed instruction for creating your own bezels.  I am not a jewelry maker of any sort, but I love to make little bobbles & bits to embellish my altered art.  This is my first attempt at her technique.

Since I had the resin mixed, I experimented with some Tim Holtz molds.  I love the way this turned out!

This one too! I can't wait to take these a step further.

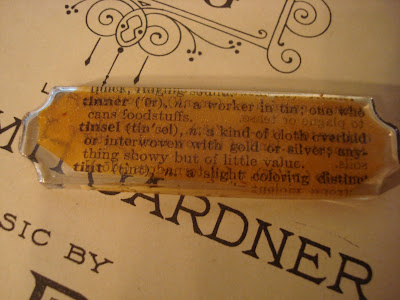
Since those turned out so great, I thought I'd try old book pages.  When you apply resin to vintage book pages the result is very translucent. 
I used a candy mold for this.
 
This piece is made from a printers block, antique photo copy, & mica.

A view from the side.
This project came from one of my very favorite books, 'A Charming Exchange'.  Every time I read through this book I discover something new & amazing.
~Lisa
Thursday, March 4

You asked for it!

Resin bobble tutorial
This is for Melissa, Sheri, Erica, Jody, Rose, Suzanne & the rest of you who wanted to know how
Gather your supplies:
Envir-Tex Lite 2 part resin -I get mine at Ace Hardware.
Plastic artist paint wells -I get mine at Michaels, they aren't too stiff. You need to be able to bend them & pop out the charms.
Photo copies - The paint wells I use are 1" round, so copy picutre's accordingly.
Plastic cups for mixing & measuring - I use children's dose cups for measuring.
Make a template by tracing around the well, then cut out your pictures.
Follow the directions on the Envir-Tex package to the letter! I learned the hard way that in order for the resin to harden properly you must be precise. I use the medicine cup to measure, if you fill it almost to the top, approx. 3 teaspoons it will fill 6 paint wells perfectly.
Don't stir the resin, fold it gently to avoid bubbles.  One trick is to breath on the tray a couple of times after filling it with your resin. Believe it or not it pops the little bubbles!
Now comes the really hard part.....waiting. They take at least 24 hours to dry, don't cheat or you'll get this result.
A gummi charm, not a good thing.
Now pop 'em out & voila!
It may take a couple of tries to get it right, but it's sooo worth it. I've also made them with thread & seeds to use in altered pieces. 

Here's a little charm I made with one.
And a tag.  Or if you don't have time to make them, you can get them in my etsy shop.
I hope you enjoy making these bobbles as much as I do.
*********************
Some of you have asked how & where I learned to do this fun stuff. I LOVE to learn new techniques & I'm always looking for classes; online, DVD or live.
 I learned the resin bobble trick from a Ruth Rae DVD, she blows my mind.  Of course Dawn's Lesson's From the Nest are beautiful, just like her. There is so much amazing stuff going on in art now, I think blogs have opened so many doors to amazing artists we might never have known.